All along my plan was to have the gallery wall climb our stairway using gold, carved wood frames. I love how the gold ties into the runner and also pulls out the shimmery gold tones in the wallpaper. The frames are all up and suddenly, I feel home.
The process wasn't easy and should I have had one on hand, I'd likely have taken some sort of sedative to keep me from finding every other incomplete task in the house to work on in order to procrastinate on this nitty gritty project. But I've wanted to get this done for so long, so I stuck with it and it definitely proved worthwhile. I had done a bit of research online looking for secrets to getting a perfect gallery wall. And although I enlisted a few of their tips and tricks, there was nothing simple or quick about it. Unfortunately, it really is a matter of taking the time to measure everything out in order to get it exactly the way you want it.
If you remember this picture from a prior post, I had already laid out the frames in the order I wanted.

However, when I went to implement my finely crafted plan, I realized how important the angle of the stairway was. Because I had planned it at a completely different angle than our staircase, my little road map was basically void. So we started from scratch by first figuring out how high off the railing we wanted the arrangement to begin. Because of all the miniature sized hands in our house that seem to have go-go-gadget reaching capabilities, we decided to raise them 9" off the railing. We measured out 9" above the railing all the way up the staircase and traced a long line as a reference point.

Next I used the templates I had made of each frame (by simply tracing each frame on to a piece of large paper and cutting them out) and taped them up on the wall in the arrangement we liked.

I knew I wanted the frames to be close together so I was sure to keep my distance between frames uniform (I did them 1 1/4" apart). We played around with the arrangement until we felt it was right and that's where the measuring began.

Having the templates (a trick I had read online) was actually quite helpful...but I still worried about me not having cut them out or traced them precisely enough, so I felt it necessary to measure each out again as I went (here's an action shot by my official photographer Jeff).

I also found that from time to time, frames of the same size didn't necessarily have the mounting hardware in the exact same spot (usually within 1/4"...which makes a big difference when you are trying to hang them only 1 1/4" apart).
The only real piece of advice I have for you would be to first lay it out using the templates so you have a general idea of where you are going and then start on one side and work your way to the other. It was also super helpful having that 'bottom' line that we traced on the wall to keep the angle of our arrangement consistent. From start to finish, measuring and hanging the frames took just under 2 hours.
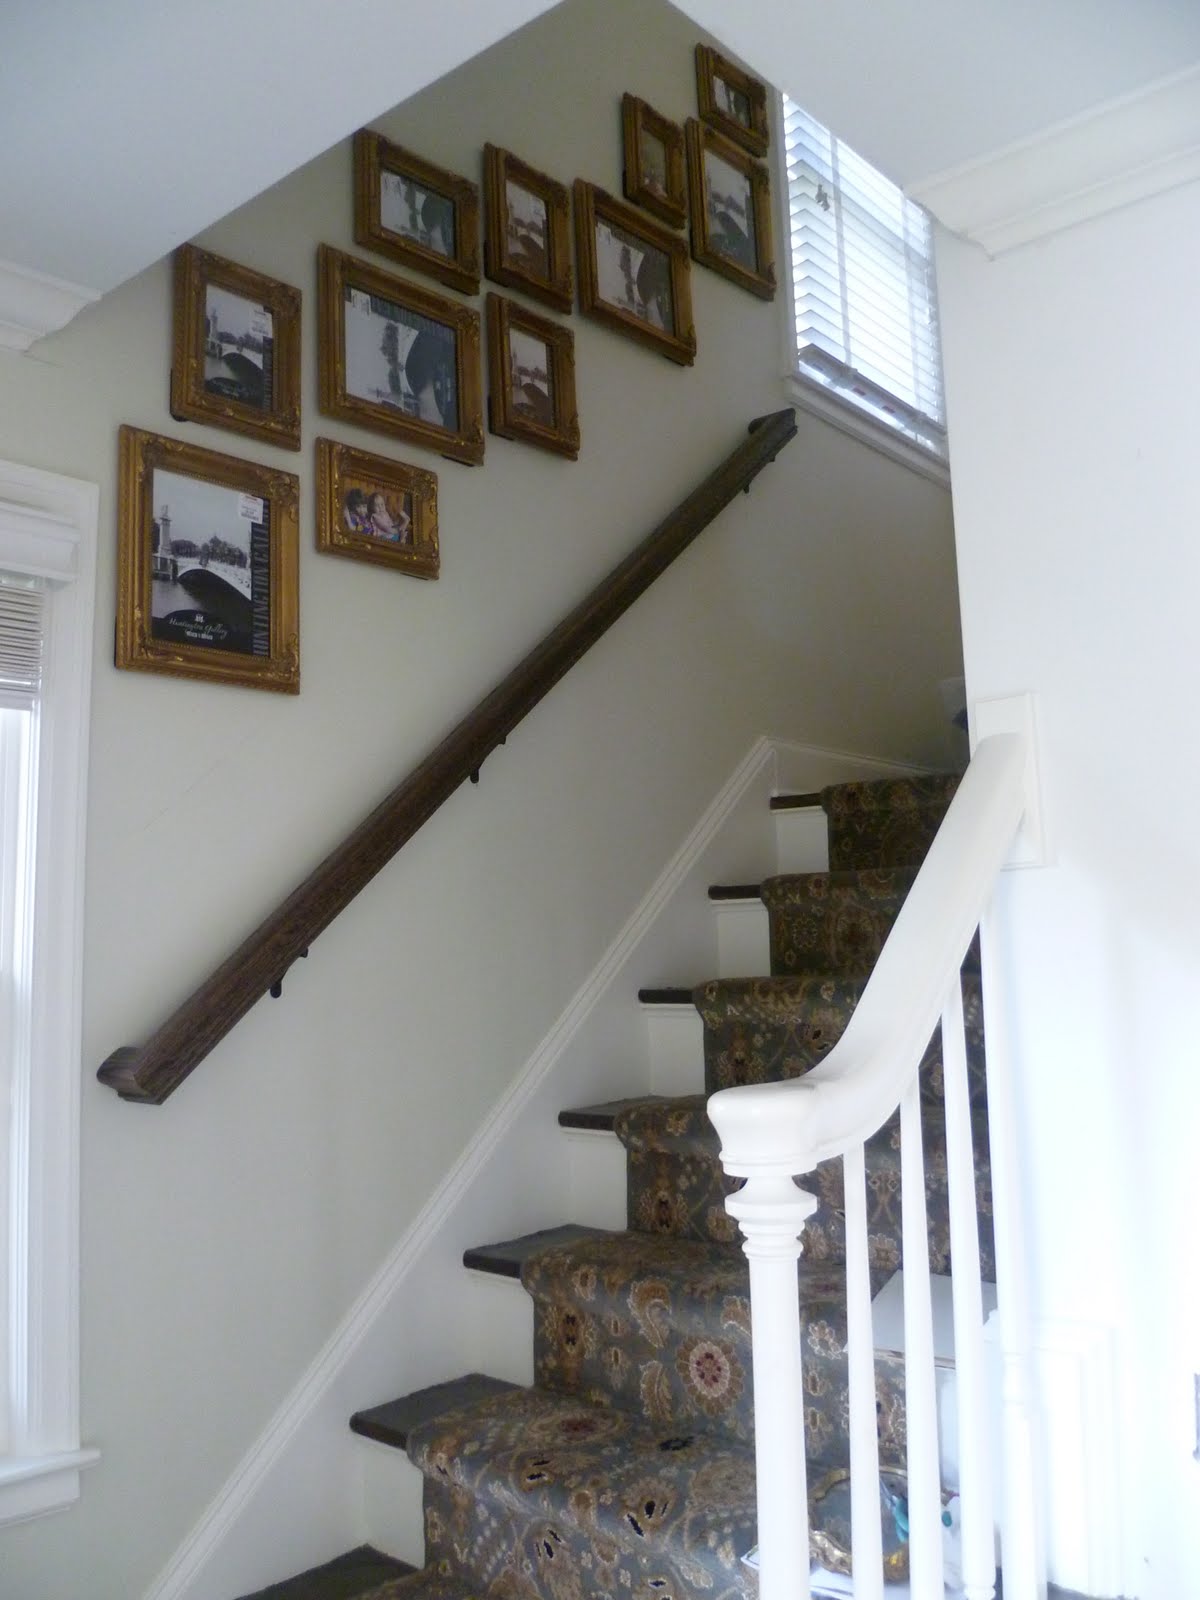


(Seen above with the foyer wallpaper. Also note that I am yet to actually put pics in the frames, the b&w images are the 'filler image' that I purchased them with from Homegoods:-)
I also want to note that to hang the frames, Jeff had the idea to use drywall anchors and screws vs a simple nail. Being that the frames are in a high traffic area and are practically a mobile for kids to yank on, we didn't want them toppling down on anyone. I thought that was a wise decision.
Now that the frames are hung, all I have to do is choose the photos I want in each frame and enlarge them to the corresponding size (which I'm about half done with). As an FYI - in the Twin Cities, I absolutely LOVE using Digi Graphics for enlargements. It's 100% noticeable how beautiful their finish is on photos and I would highly recommend spending the extra couple bucks to get the quality. The is, afterall, the centerpiece of the center of our home!

No comments:
Post a Comment
Note: Only a member of this blog may post a comment.