SO much to say about it. First of all, wallpaper just isn't what it used to be. Our generation has angry and hostile feelings towards wallpaper because most of us have spent the better part of the past decade buying homes and thus stripping previous generations' wallpaper. In this house, we wised up and paid the $25/hour to have the painters take it down as renting the scaffolding for us to reach the peeks of our stairway would have cost more than just having them remove it for us. (I'll have you know it took 6 guys, 15 hours to remove the wallpaper...can you imagine how long it would have taken Jeff and I?)
Of course having a wallpaper installer in our house means cornering him into an awkward conversation for me to probe his brain for tips and tricks of the trade. First off, he shared with me that the wallpaper that is produced these days is completely different than what most of us are used to taking down. It is more of a fabric/woven type paper/material that is much easier to work with than previous wallcoverings. He assured me that even in a bathroom where humidity will build up on the paper over the decades, I will be able to strip this wallpaper in one hour of time with no damage to my walls. You're on buddy! See you in 20 years to take you up on that little wager;-)
Being the weird stalkerish type homeowner that I am, I managed to get a grasp on the steps David The Wallpaper Man used (solely for the purpose of sharing them with you on my blog). Here is how his process went:
Step 1) Remove everything off the walls including light fixtures, towel bars, etc.
Step 2) Cover all surfaces (floor, counters)
Step 3) Prime the walls using Zinnser "Sheildz" Primer. This is specifically for wallpapering. The primer comes either in clear or white. The clear primer has a more adhesive property to it whereas the white is solely for protecting the walls and providing a proper surface for the wallpaper to adhere to. David feels the white primer is the better choice. Here are the primed walls all ready for paper:


Step 4) Allow the primer to properly dry
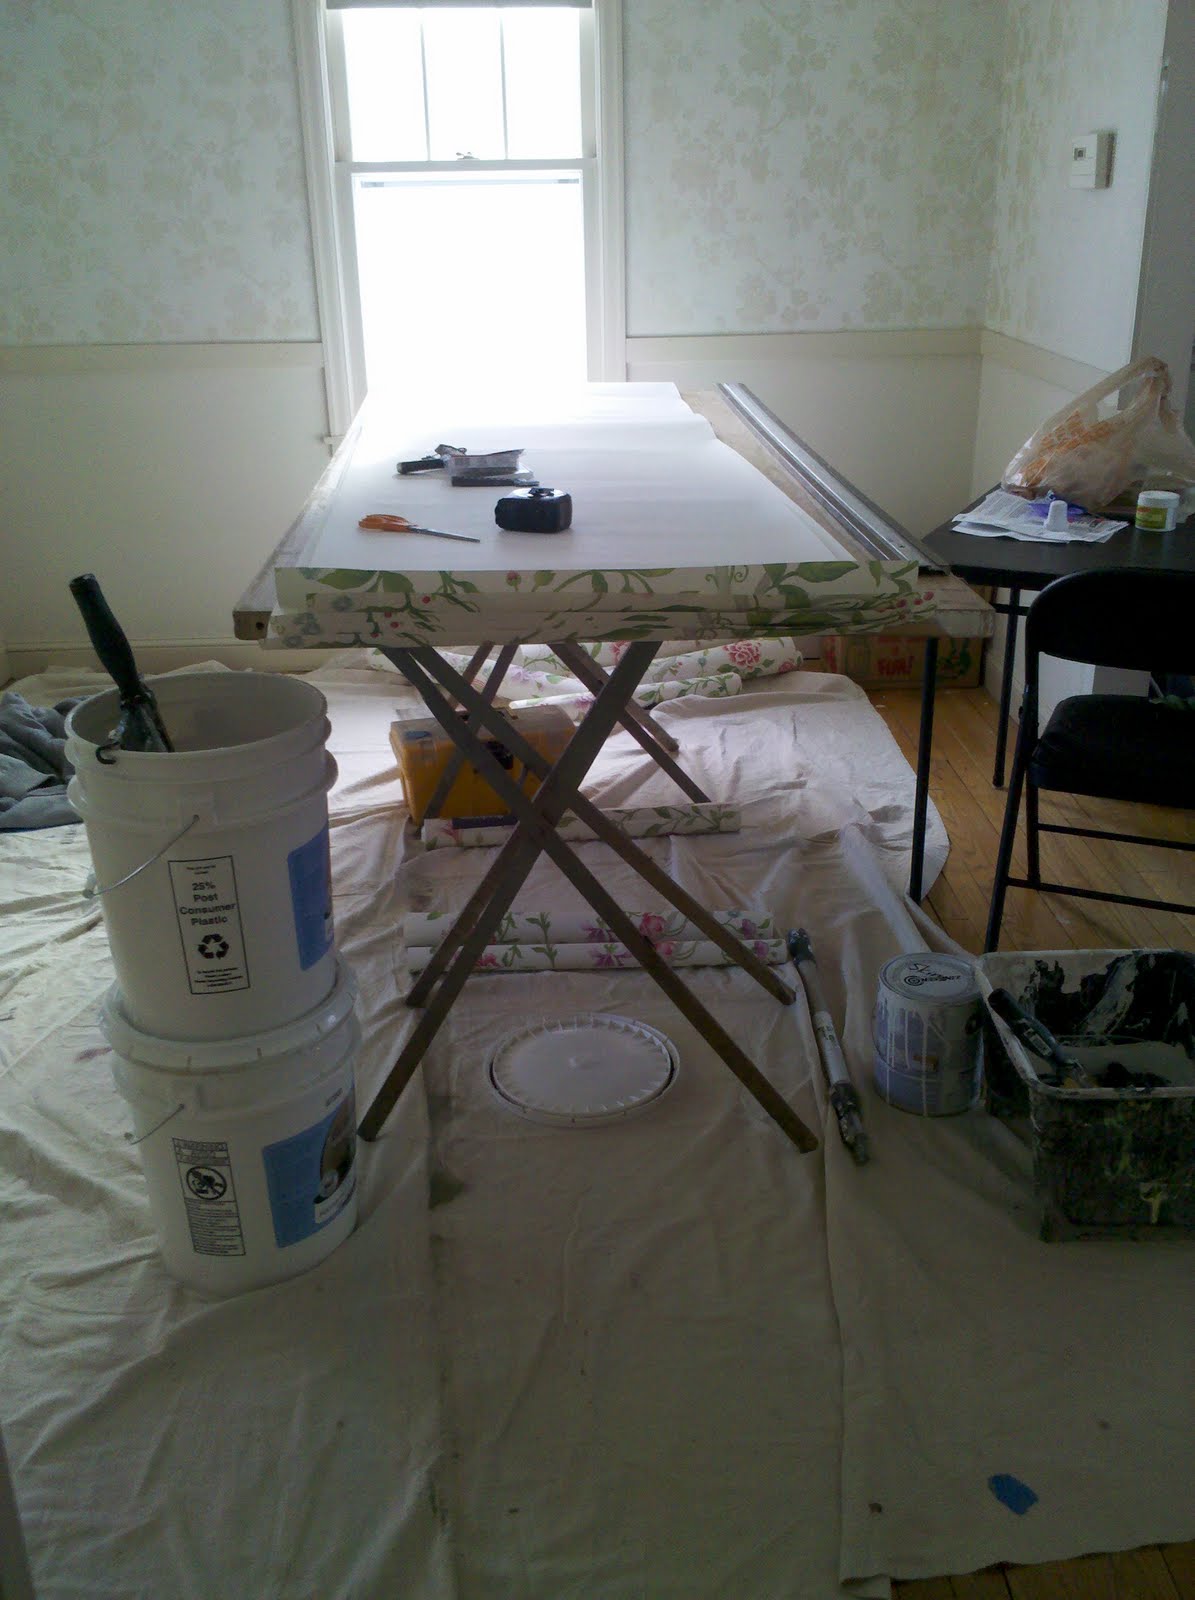
Step 5) Cut all of your paper to proper sizes according to how you mapped out the room.
Step 6) Apply the adhesive to the back side of the paper. The adhesive he recommends is called Roman Pro 880 - Ultra Clear. He rolled in on using a paint roller and then loosely folded each piece into itself (obviously only touching the sticky sides together). As a novice, he suggested only applying the adhesive a piece or two at a time (a pro like himself applys it to all pieces at the same time). You have about 45 minutes - 1 hour to get the paper hung once the adhesive is applied. Otherwise, the paper will begin to dry out and stick to itself.
Step 7) Start hanging that paper!
Unfortunately, that's where my tips and tricks end because I was too terrified to watch him put it up in fear that I might panic and pull the plug on the whole operation. For our small bathroom, the entire project from start to finish took about 3 1/2 hours.
The results? A WOW factor that you just can't achieve with paint.


The paper gives the room such a unique feel, a homey feel and a really personalized look. It took this basic 4x4" white field tiled bathroom and turned it into something really special for a fraction of the cost of a large scale remodel. I also really think the scale of the pattern works well in this size bathroom. If the pattern was any smaller (which would be easy to think 'small room - small pattern'), it would really compete with the intricacy of the floor and make the room all together too busy.
And now for the big elephant in the room - the fact that this is Jeff's bathroom too. What am I supposed to tell you? That Jeff loves flowers and butterflies? That pink and purple are Jeff's favorite colors? I'm guessing you wouldn't buy those answers considering you know the one and only thing there is to know about my husband - that he is a motorcycle riding crazy person. When I posed this very question to Jeff about how he lives with floral/bird/butterfly wallpaper his response was this, "I don't give a s&%$ what it looks like so whoever actually cares should be the one that picks it out." I love my husband.
Now that the paper is up, those light fixtures are just killing me. I'm not crazy about the chrome finish of the fixtures against the paper. What do you think about going oil-rubbed bronze with the lights? I feel like it would pull in the dark out of the floor and also the hardware on the door (knob and hinges, also in ORB). Need your thoughts!
One final note - while I feel as though the installer did an excellent job at his actual craft, I did not feel his communication and punctuality were in the "above and beyond" category. Therefore, I will not be able to add him to my Twin Cities Notables list.
Friday is our next big day - runner installation day. Yikes...another one that will have a big impact with such a small amount of material. Here's to hoping our luck continues!
And, today I shall leave you with a few photos of my baked goods. I challenged myself to 12 straight days of baking (for the 12 days of Christmas of course). Well, I threw in the towel on day 9...but scored some pretty great treats out of the deal to give away to friends and family. Jeff caught me in action last night working on the dough for the Peanut Butter Blossoms (one of my favorites!) The baking was a lot of work, but it was all worth it to start another fun Christmas time tradition with Rosemary. She loves helping me "Make" (her version of the word 'bake';-)

No, I didn't coordinate my outfit with my kitchen... :-)


No comments:
Post a Comment
Note: Only a member of this blog may post a comment.