Wednesday, July 13, 2011

Dining Room Light Fixture

Followers, do you hate me? I know, I've been a slacking blogger - a slogger if you will. But the extent of what I would have had to share with you would be:

- Paying bills, bills and more bills
- Getting estimates on sod
- Begging and pleading to the Drapery gods to have my bedroom drapery arrive

In my spare time, I've been COOKING, yes, COOKING! Remember back to my previous post where I referenced one of my goals post remodel was to get back to cooking meals at home 4x's a week. Well, I haven't made it up to 4 meals a week, but I have been doing TWO which I'm super-de-duper excited about. And by the way, we aren't eating out the other nights, we are consuming meals like cereal, PB&J, frozen meals, mac&cheese, etc. Must keep forging ahead in my quest for complete non-frozen meal-ness.

The other thing I love doing in my spare time is exploring blog world and the slew of interior design material on the world wide web. I recently came across an image that had me at hello. This shall serve as my dining room light fixture inspiration:

Can you hear the angels singing? I feel as though there are a million and a half of these TYPES of chandeliers out there - the shade combined with the crystal droplets. But this one speaks to me in a proportional way...the overly lengthy, narrow shades, the dramatic crystals that fall far beyond the shade and the leggy brass arms that are so simple and vintage feeling. I am on the QUEST for this light. So far I struck out at Southern Lights, so my search has gone viral. Wish me luck!

The other thing I love about this image is the visual it gave me of the woven wood romans in a dining room. This photo put my mind at ease a bit since the room pictured has a very traditional feel with the white moulding and paneling, yet the punch of wood tone on the windows definitely breaks up the otherwise white feel of the room and adds a bit of texture. While we lack the gorgeous paneled walls, we do have a sea of white on one side of our dining room with the built-ins that climb the north wall. Here are a few photos of the space for visual sake.


We left our mantel in the original state. Someday, I would love to have the cabinet maker build a big old paneled white mantel to balance the built-ins. But for now, it's nice to have a reminder of the original home. In fact, let's take a look at a few before and after's just for fun:-)

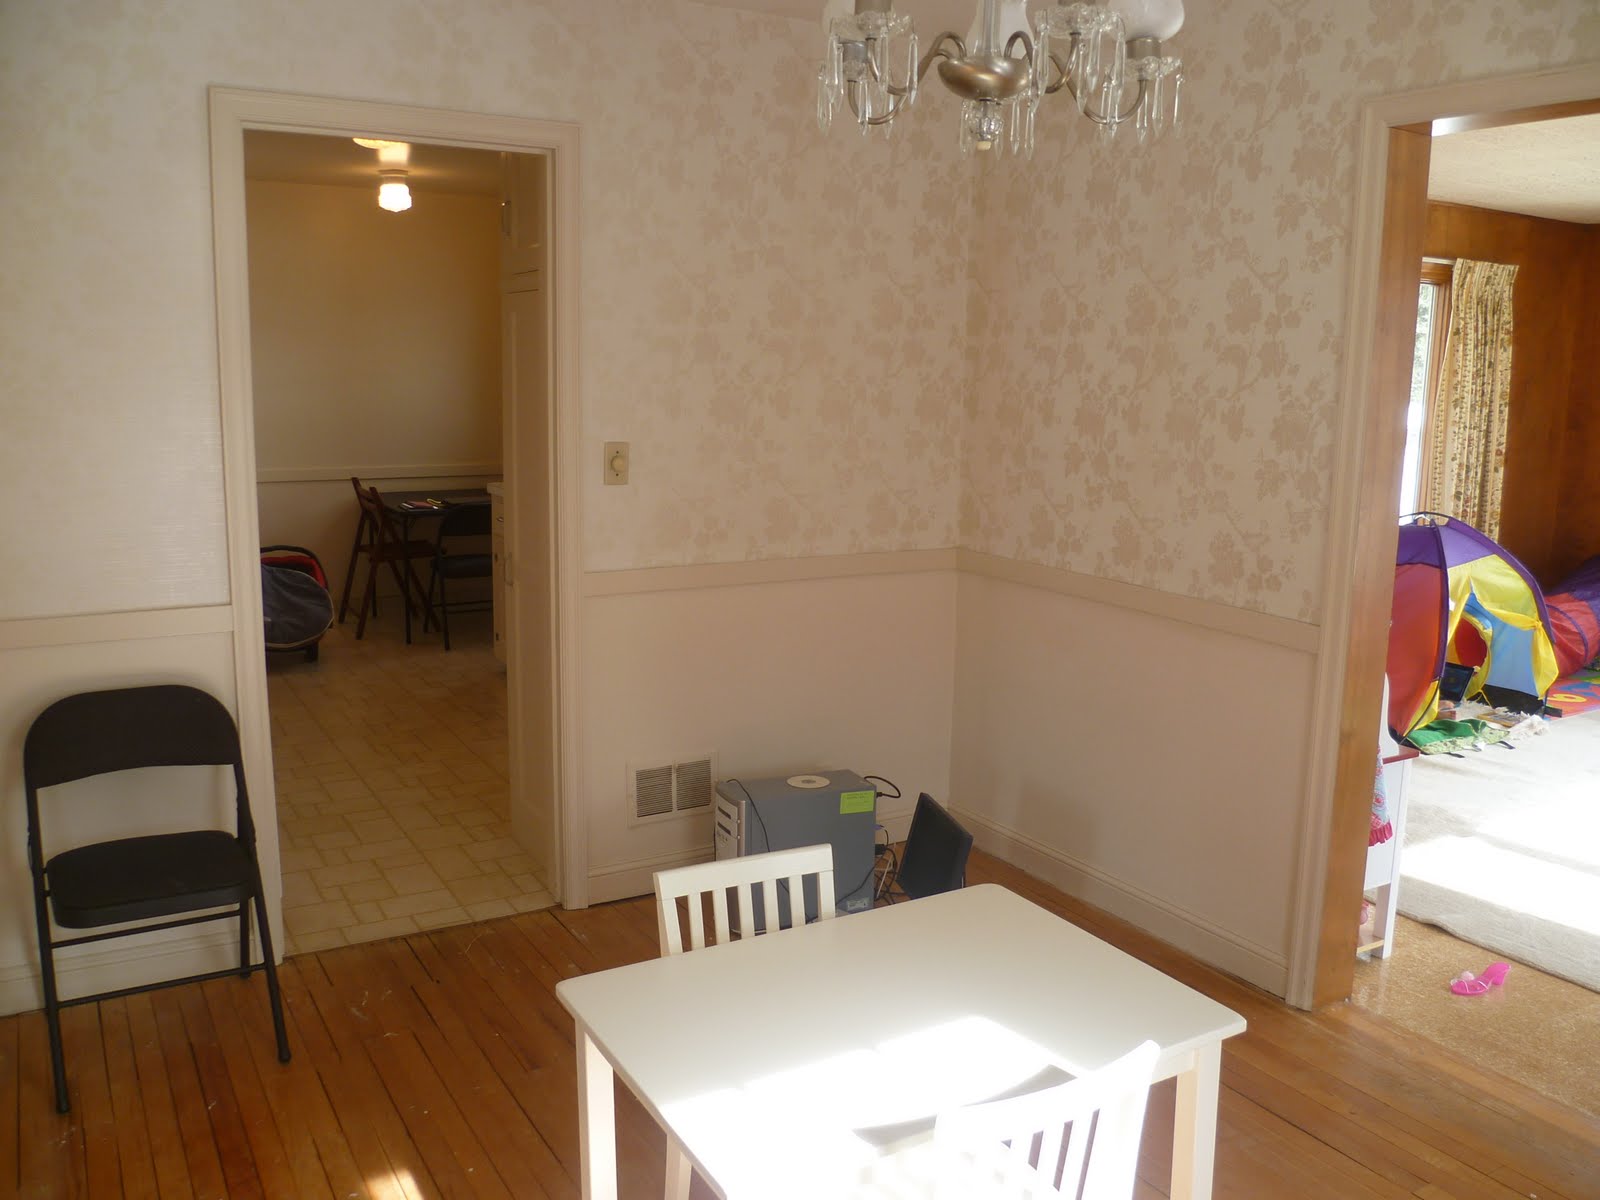
(Earliest 'before' - the MLS photo from when we purchased the home in October, 2010)

(Night before demo began)

AFTER!


Stay tuned for completed sod photos, one more week until basement carpet install and received confirmation that the drapery will ship out on Monday...yeeks!

Sunday, July 10, 2011

What's Cookin'

Although there haven't been a ton of visual changes to the house lately, we've been busy as ever getting the final pieces of our whole house facelift complete. Here are the things I've been able to check off the old to-do list as of late:

- Main level window treatments - ORDERED!
- Basement Carpet - ORDERED!
- Exterior Light Fixtures - INSTALLED!
- Basement Closet Shelves - INSTALLED!
- Small wood floor imperfection - FIXED!

Things left on our ever-dwindling to-complete list include:

- Install sod in backyard
- Install hooks and other miscellaneous hardware in mudroom lockers
- Pick out and order exterior light fixture for front stoop
- Pick out and order basement light fixtures
- Pick out and order master bedroom light fixture (our ceiling still looks like this):


I mean, these are the nitty gritty things and I struggled to even come up with that list. I have the furniture BUG lately and even went and visited the dining room table we have our eye on today just to be sure it would work. We are still on hold with the furniture though until we get the actual house project itself complete. Eek! I just get so excited at the thought of a real couch in this house;-) We aren't exactly able to entertain yet with the house being finished but unfurnished (our friends and family are so kind to pretend they don't mind sitting on our floor;-) but we are anxiously dreaming of a sit down meal in our dining room with our nearest and dearest. I also am SO excited to be hosting a dear friend's baby shower later this year...which gives me every reason to save my pennies up for furniture instead of coffee;-)

Back to the window treatments, here's what we went with for our main level. In the family room, we went with a very simple honeycomb shade (matched to the trim color) that will virtually disappear when in the 'open' position.

We wanted to keep this room bright and sunny and wanted zero obstruction to the view out to the yard. The even better part is the promotion Hunter Douglas was running for a FREE upgrade to the cordless shades. You simply push them up to their open position free of cords for little Go-go to wreak havoc on. The other good news is they are eligible for a tax rebate as they increase the energy efficiency of the windows.

For the dining room, we went with a woven wood roman shade.

These are definitely out of my white comfort zone, but I'm excited about them. They will be unlined, so will not provide 100% privacy, but will diffuse the light and site line from the street. I love that they will add an element of texture to the main level and feel a bit more formal than a faux wood blind like we have in the upper level of our house. The pattern really is perfect for our space as the honey tones pull out the gold in the stair runner, wallpaper and gold framed gallery wall - while the darker brown and gray tones tie in nicely with the floors and dining table we have our eye on.


In the next three weeks, the following elements will be installed:
- Basement carpet
- Master bedroom drapery
- Main level window treatments
One last trip to Southern Lights and we will be able to call this project COMPLETE! Day one of our main level and exterior project was March 7th. Just 4 months later we are finishing up the last of the details. WHAT a journey!

Wednesday, July 6, 2011

Basement Overhaul.

If you remember back, Jeff and I have been all over the board as to what to do with our basement. We did work on our upper level last year upon closing on the house (refinished woodwork and wood floors, painted all the walls and ceilings, tiled the bathroom, updated the hardware and closets, installed a runner on the stairway, etc). Having just completed our main level remodel, the basement was looking a tad neglected.

Like I have mentioned previously, our initial plan was to do a complete basement renovation which would have included the addition of a 3rd bathroom with large shower and vanity for the kids to use as their primary bathroom. We do not have a master bathroom and this seemed like a good solution for creating additional 'getting ready' space in the house. However, the more we thought about it, the more we decided that, while the remodel would function great for us, in terms of resale value, our money would be better spent putting a master bathroom in. We have a large master bedroom for a Minneapolis house of our size. There's a chance we could squeeze a modest master bath in our existing bedroom, or perhaps by steeling a portion of our office (we have 4 bedrooms on our upper level). After more thought than I care to admit, we decided to do neither project. We have put the kybash on any more major renovations for this house and instead, are working with what we have.

What this meant for the basement is that nothing major was going to change. We would keep the knotty pine paneling that is already existing in the space and paint it. We kept the closets that were already built out in the basement and would attempt to give them a bit of pizaaz. We would leave the tiled floor that's already down and cover it with a plush layer of new carpeting. We would leave the tiled ceiling and give it a little sparkle with two new light fixtures. Overall, the goal was to turn the basement into space we could actually use vs having it remain a dark dungeon we all avoid. I think we are off to a great start.

We started by having the painters sand the paneling and apply a hefty coat of primer as to not allow the stain in the wood to blend with the new, lighter paint color. It has to be a heavy duty stain protecting primer to get the best results. Next, they applied two coats of Benjamin Moore Edgecomb Gray that is a nice transition from the kitchen and mudroom to the basement stairway and play room. We also had new base molding installed to add another element repeated on the upper two levels which we hoped would dress it up a bit. The trim all went our same trim color as the upper two levels - Benjamin Moore White Dove. For fun, the insides of the closets (where toys and dress up clothes will be stored) went Benjamin Moore St. Lucia Teal. We are in the process of replacing the electrical outlets to fresh polished white ones, a new baseboard register will also help give the basement a low budget facelift. We had a new railing installed which we stained to match the floors and railings upstairs - all in all, the transformation has proved to be rewarding! Shall we take a look at the before and afters so far? We shall...


The final piece is the carpet we have picked out seen below.


My parents did a similar carpet in their cabin and the subtle stripe really helps to expand the space. We chose the color most similar to the walls as to keep the contrast low and the space feeling continuous. By the way, the reason the floors look lighter in the 'after' photos above is only because they are covered in paint. The walls were sprayed vs brushed/rolled and because its extra labor for the painters to cover the floors (aka extra $$$), I skipped that step knowing we would be covering it with a mildew resistant pad and plush layer of carpet anyway.

All in all, I think it will be a great place for the kids to run wild in. The best part about the basement is that the side door is no longer in the stairway. Remember this door that nearly plummeted me to my death on multiple occasions?

Well, the door has been laid to rest and was swapped out for a charming little window to brighten the space.


What a difference!!!

Sunday, July 3, 2011

Kitchen Re-Reveal.

We interrupt your regularly scheduled basement overhaul reveal post to bring you a kitchen-is-finished post. The final pieces of the Butler's Pantry were sprayed and perfected, the drywall between the brackets in the main part of the kitchen was painted and the cabinets are all as they should be. It's time to deliver some higher quality photos of how the kitchen turned out.

Before we get to the re-reveal, let's go back to where we started.


The kitchen was in fact not located here when we began. We moved the kitchen into its current space (the former dining room) in order to make room for a 1/2 bath and mudroom.


The kitchen now sits in the middle of the home, sandwiched between the new formal dining room and the family room. There is only one window that is actually IN the kitchen proper...but it's on the South side of the house and seems to flood a steady amount of sunshine throughout the space. It also helps having the sunny family room with 3 panel french door on the East side of the house.

I have said it before, this kitchen has a 'look' to it...an aesthetic that seems to carry throughout the pieces that comprise the kitchen. The bracket detail, for one, and also the mixture of materials - the honed black granite with the honed carrera marble, layered with the honed marble backsplash and ledge detail. All of this combined with the painted White Dove cabinetry and simplistic polished nickel hardware give the kitchen a classic, traditional and charming appeal.

Functionally, I have a few favorite parts of the kitchen. From the get-go, I wanted to have a laundry chute in the kitchen. For years I have had a pile of laundry at the bottom of our basement stairway - dish towels, dish clothes, bibs, socks, clothes that came in the door and were stripped off for whatever reason. I wanted to be able to toss them down the chute from the convenience of my sink and skip the whole lug-them-over-to-the-laundry-room-while-tripping-on-them step. So, we have a laundry chute in the bottom of the cabinet directly under the sink.

Storage is always tricky in a smaller-ish kitchen, but we really maximized the space we had. I prefer drawers over cabinets in a kitchen anyday. Big, deep drawers for storing pots, pans, platters, etc. The cabinets on either side of the stove are perfect for just such things as well as the plethora of drawers in the Butler's Pantry.

Speaking of the Butler's Pantry, I think it has to go down as my favorite part of the house. I love the color of the cabinetry so much paired with the polished nickel hardware and the small accents of pink in the light fixture. By the way, the Butler's Pantry is my favorite dinner date as I sit and gaze at it from the barstool while eating my dinner;-)

So, without further adieu, the before and afters of the kitchen. It still needs some more decorative accessories (LIKE A CLOCK), but finishing wise, it is complete and looking like a million bucks. You will probably remember these before pictures from my post of yore when I featured the kitchen pre-remodel. Enjoy!


...and here are a few more detailed images for fun...


Thursday is the final carpet measure for our basement! WOO HOO! They say it will be about 2 weeks before we get it. In the meantime, Jeff is downstairs cutting all the shelving for the playroom closets so it's all ready for dress-up by the time the carpet arrives. Stay tuned for tomorrow's basement reveal.

Rosemary asked that I include this picture of her jumping (on the basement carpet sample of all things)...so here it is:-)